No, we are not doing a throw back to years ago when string art was the big rage in crafting. In case you haven’t heard, it’s made a comeback and in a big, modern, somewhat updated way. Take a look through these 8 tutorials that we put on our top favorites list and see what you think. You’ll probably come up with some designs of your own just by browsing around.
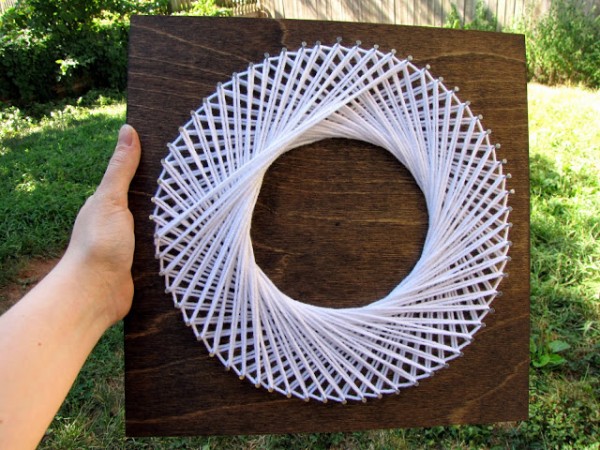
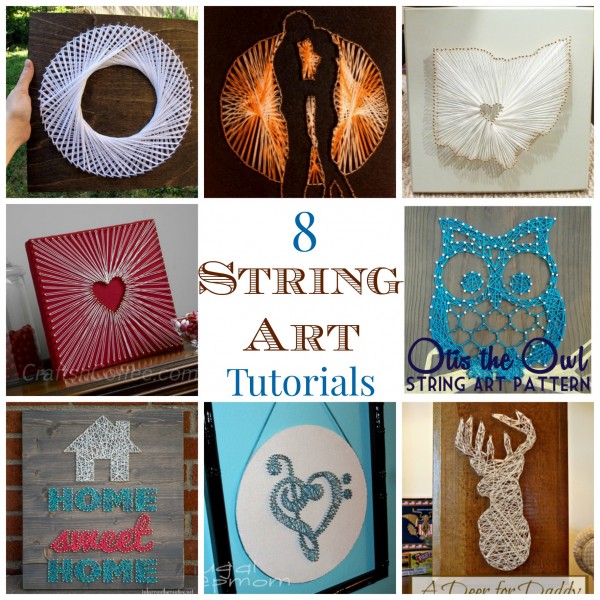
1- Bold Circle from Twenty Six to Life
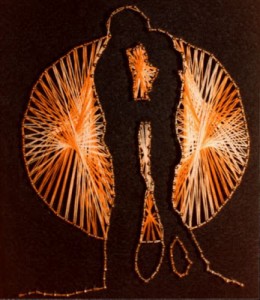
2- Couple Silhouette from Birds of Ohio
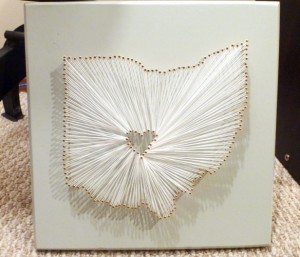
3- Heart In Ohio from The Harpster Home
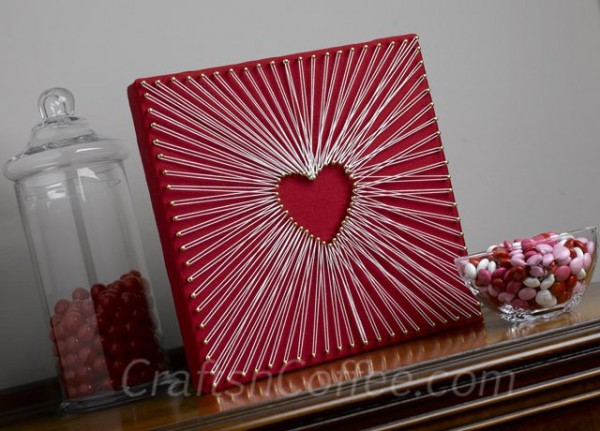
4- String Art Heart from Crafts N’ Coffee
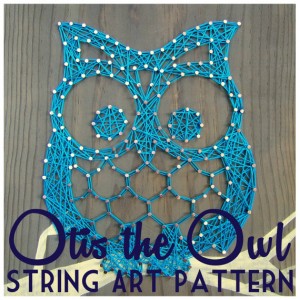
5- Otis The Owl Pattern from Nine Red

6- Home Sweet Home from Infarrantly Creative
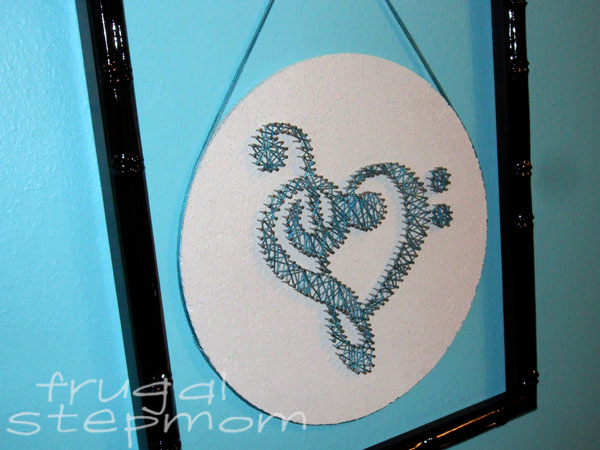
7- Musical Wall Art from Frugal Stepmom
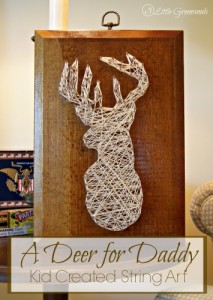
8- A Deer for Daddy from My Crafty Spot
Here are my own top tips for crating string art projects.
Plan your design ahead of time
Before you start hammering nails into your wood or canvas, it’s important to have a clear idea of the design you want to create. Sketch out your design on paper or use a software program to create a digital mockup. This will help you visualize how your string art will look when it’s complete and make the process much smoother.
Choose the right materials
Choosing the right materials is key to creating beautiful string art. You’ll need a piece of wood or canvas, nails, string or thread, and a hammer. When choosing your wood, make sure it’s sturdy enough to hold the nails in place. Choose nails that are thin and have a small head so that they won’t stand out too much. As for the string, you can choose any color or thickness that you like.
Use a template
If you’re new to string art, using a template can be very helpful. You can print out a design or image and place it on top of your wood or canvas. Then, hammer your nails along the outline of the design. Once you remove the template, you’ll be left with the perfect pattern to follow with your string.
Experiment with different techniques
String art is a versatile art form, and there are many different techniques you can use to create unique designs. For example, you can wrap the string tightly around each nail to create a more solid pattern, or you can use long, loose strands of string to create a more abstract design. Experiment with different techniques to see what works best for you and your design.
Take your time
Finally, making string art is a process that requires patience and attention to detail. Take your time and don’t rush through the steps. Hammer your nails carefully, and make sure they are all the same height. When wrapping your string around the nails, be sure to keep it tight and neat. Taking the time to do it right will ensure that you end up with a beautiful and professional-looking piece of art.
Making your own string art can be a fun and rewarding experience. By following these tips, you’ll be able to create beautiful designs that you can be proud of. Remember to plan ahead, choose the right materials, use a template, experiment with different techniques, and take your time. With a little patience and practice, you’ll be on your way to becoming a string art pro!


Leave a Reply